
Overmolding promises sleek surfaces, comfort grips, and combined functionality—rigid structure plus soft touch—in one part. Many companies love the idea, but in practice defects, delays, and hidden costs often appear. The question isn’t “Can we do overmolding?” but “Can we do it consistently, at scale, and with the right quality?”
What Overmolding Really Involves
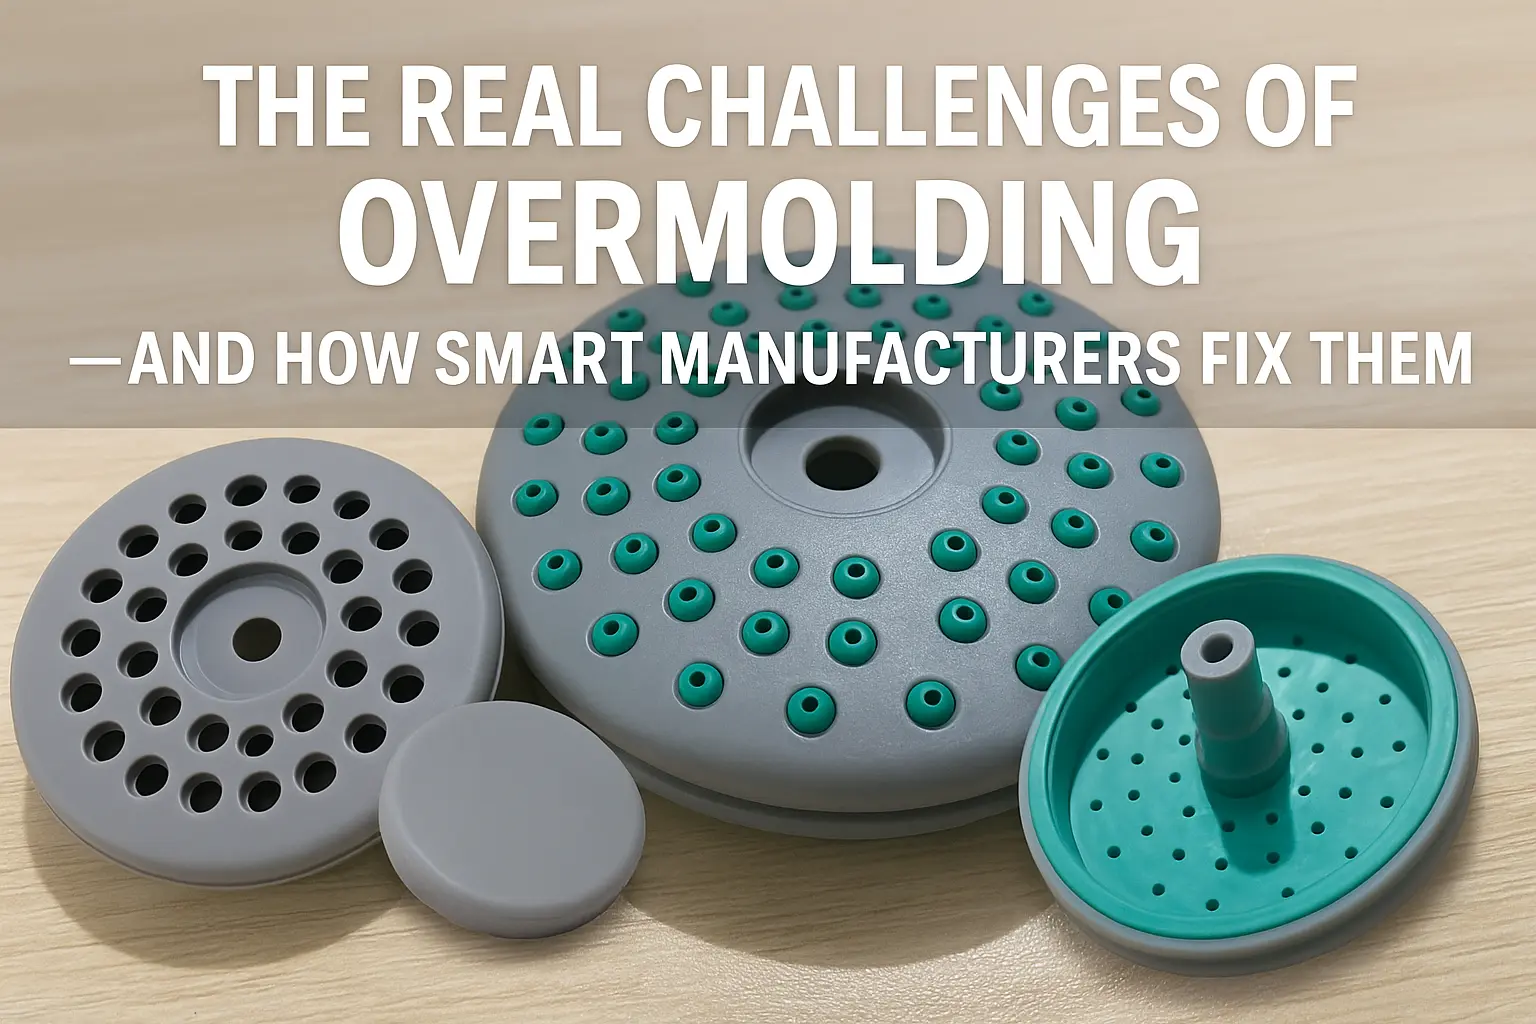
Overmolding combines a rigid “substrate” with a softer or flexible overmould material. It sounds simple, but there are dozens of variables that decide whether the final part meets customer expectations. From bonding to cooling to cosmetic appearance, every detail counts.
Common Problems Buyers Face
1. Material Compatibility
Not every plastic sticks to every elastomer. If melting temperatures, shrinkage rates, or chemistry don’t match, the result is weak bonding or delamination. Surface preparation—like roughening or adding texture—is often critical to success. Many failures happen not in the soft material, but at the interface.
2. Mold Design Complexity
Gate placement, venting, and cooling channels all affect how the overmould flows. Poor venting traps air. Poor cooling creates stress and warpage. In multi-cavity tools, one cavity might fill perfectly while another produces rejects if the flow path is too long or uneven.
3. Cycle Time and Yield
Overmolding isn’t just “one more shot.” It adds steps: forming the base, transferring or positioning, then moulding the secondary material. Each stage introduces risks. If the substrate shifts slightly, if cooling is uneven, or if curing takes too long—you get scrap. Scaling from prototype to production magnifies these issues.
4. Cosmetic Consistency
Buyers want the function, but also the look and feel. Soft-touch surfaces should feel smooth, colours should match, and weld lines or flash should be minimal. Small visual defects reduce the perceived value of consumer goods, bathroom hardware, or automotive parts.
How Good Manufacturers Solve These Issues
● Material testing early: Validate substrate + overmould combinations before tooling. Peel tests, adhesion strength checks, or mechanical interlocks where needed.
● Optimized mold design : Use simulation to decide gate and vent locations. Design separate cooling circuits for base and overmould areas. Finish the mould surface as required—polished or textured.
● Pilot runs before scaling: Test process stability with short runs. Identify issues in cooling, alignment, or surface finish before investing in full production.
● In-process quality checks: Inspect adhesion, thickness, and hardness of the overmould at each batch.
● Design-for-manufacturing advice: Help clients adjust wall thickness, draft angles, and transition areas to prevent warpage and ensure clean coverage.
Where Overmolding Adds the Most Value
● Automotive interiors: grips, knobs, and seals with comfort and durability.
● Consumer electronics: premium hand feel and brand differentiation.
● Medical devices : comfort, hygiene, and secure grip.
● Bathroom and kitchen hardware : durability, moisture resistance, and aesthetics.
In each of these markets, the balance between form and function is what sells. Overmolding provides both—if done correctly.
Final Thoughts
Overmolding can transform a standard product into something premium, functional, and user-friendly. But the process is unforgiving. The right supplier doesn’t just follow drawings; they understand bonding chemistry, tooling design, and process control.
If you’re considering overmolding for your next project, ask your supplier:
● What material combinations have they validated?
● How do they handle cooling and venting in multi-cavity tools?
● Can they show yield data from real production runs?
We’ve seen projects succeed—and fail—based on these questions. Getting them right early saves months of delay and thousands in rework.